CHECK YOUR ELIGIBILITY
Replacing Your Breast Pump Parts
Did you know replacement pump parts are covered by most insurance plans? Fill out the form to learn your eligibility.


Pump Replacement Parts are part of our Mother Pumper Program, designed to make your life easier with convenient monthly* deliveries. Many insurance plans cover free recurring milk storage bags and pump replacement parts. Simply follow the steps below to ensure you’re stocked with the pumping essentials and can focus on what matters most, your baby.
If you qualify, we’ll do all the work for you!
![]() Look out for our email & text confirmations about every 30 days.*
Look out for our email & text confirmations about every 30 days.*
![]() Simply confirm your information.
Simply confirm your information.
![]() Wait for your replacement parts and/or milk storage bags to arrive at your door!
Wait for your replacement parts and/or milk storage bags to arrive at your door!
*This may vary based on your insurance
Breast Pump Supplies Through Insurance
Many insurers will cover breast pump replacement equipment. If you received your pump through insurance with Aeroflow Breastpumps, we’ll automatically let you know if your insurance covers additional breast pump parts at no cost. You’ll be notified via email if you’re eligible to receive this benefit.
If you’re looking to purchase new or specific pump parts out of pocket, we also carry individual pieces and convenient kits that are packaged by breast pump brand. We always recommend keeping an extra set of pump parts on hand, just in case! That way there isn't an interruption to your breastfeeding schedule and if something breaks, you'll be prepared.
Replacing Pump Supplies
Pumping is no easy task. While it is often rewarding, it requires a lot of effort to keep up with your baby’s feeding schedule! One of the most time-consuming aspects of any daily pumping routine is cleaning and caring for your breast pump parts. Maintaining proper care of your breast pump flanges, valves, and tubing is essential to pumping safely and efficiently.
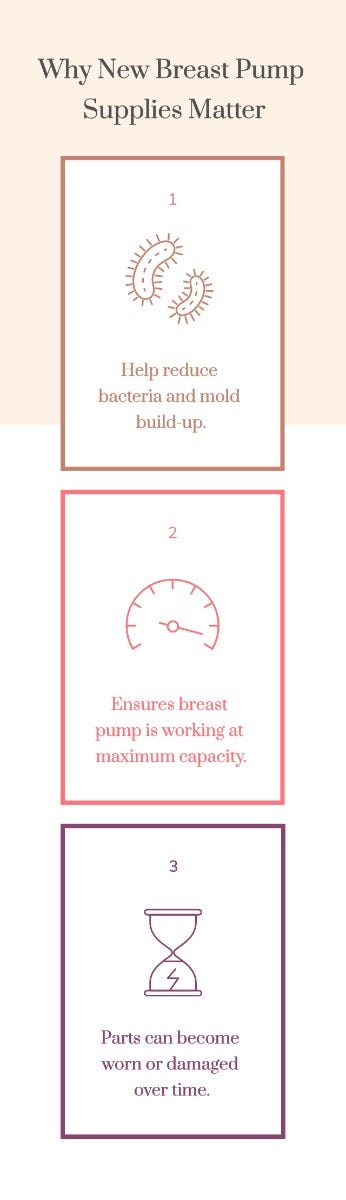
Pump supplies can become stretched, torn, or worn out due to pumping and sanitizing repeatedly, causing the overall loss of suction strength. Over time, residue can build up in the crevices and tubing, leading to possible bacteria and mold build-up. As a regular or exclusive pumper, replacing these parts on a 90-day basis is key to breastfeeding successfully.
However, sometimes the process of replacing pump parts can be a little confusing. Like what parts need to be replaced? And how often should they be changed?

What Parts Need To Be Replaced & How Often?
The breast pump supplies (or parts) that should be replaced regularly include:
- Duck Valves or Membranes - The membrane is made of soft silicone, meaning it can stretch and easily lose elasticity over time. This can impact the suction strength of your breast pump. If the membrane doesn’t lay flat on valves, it needs to be replaced, but keep in mind that sometimes these smaller parts won’t have any visible damage.
- Flanges - As you use and clean your flanges over time, they may begin to crack. This can lead to a build-up of bacteria in the crevices that can’t be sterilized, even with vigorous cleaning.
- Tubing - The ends of your breast pump tubing may stretch or degrade over time, which can also impact the pump's suction strength. If the tubing slides on and off the pump motor and backflow protector easily, then it needs to be replaced. Also, if moisture has been trapped inside of the tubing, it will need to be replaced. Pump tubing needs to remain completely dry, otherwise, the moisture could eventually damage the motor.
How often these parts need to be replaced depends on how frequently they’re used. We recommend replacing these items at least every 90 days.
How to Clean Breast Pump Parts
In addition to replacing your breast pump supplies, one of the most important aspects of any daily breastfeeding routine is properly maintaining all the breast pump parts and accessories you use.
After finishing a pumping session, the prospect of washing all these parts and pieces can seem daunting. But effectively cleaning your breast pump, breast shields/flanges, connectors, baby bottles and more is an essential part of the process. It helps safeguard your baby's developing immune system against the harmful germs and bacteria that can grow in breast milk residue.
In addition to washing pump parts with soap and water, the CDC recommends going the extra mile and sanitizing breast pump parts once daily in some cases, especially if the baby was born prematurely or has a weakened immune system. Be sure to check with your baby's healthcare provider if you have any questions or concerns. As with everything else involved in caring for a baby, don't be afraid to reach out for help when you need it! Enlist the services of your partner or family members whenever possible.
Breast Pump Parts Cleaning Guidelines
Once you establish a system that works for you, you'll find that cleaning breast pump parts becomes another routine part of your day. Technically, fully sterilizing breast pump parts is not possible, even through boiling, according to the FDA. The good news is that it is also not necessary for safe feeding.
Sanitizing parts is what's needed to protect a baby's vulnerable immune system, and this can be achieved through microwave steaming and certain dishwashing settings. For some items (be sure to check manufacturer guidelines) boiling is an option. For an older child with a mature immune system, a thorough cleaning with soap and hot water after each use may be sufficient.
- First things first, start by washing your hands with soap and warm water for at least 20 seconds.
- Disinfect countertops or any surfaces your breast pump may come in contact with during your pumping session.
- Inspect your pump parts for mold or breast milk residue build-up before using them. Just in case, it's always a good idea to keep spare parts on hand.
- Scrub your pump parts after every use and let air dry on a clean drying rack or paper towel. A cloth or dish towel should not be used to dry pump parts.
- A disinfectant wipe or paper towel with sanitizing spray can be used to gently wipe the pump base, buttons, dials, and switches. The electrical unit should never be submerged in water or cleaning liquid. You should also never attempt to steam clean it in the microwave.
- After pumping, as soon as possible, take apart tubing and separate all parts, including breast shields, valves, connectors, membranes, tubing, and milk collection bottles.
- Rinse the parts that come in contact with the breast and breast milk under running water.
- Clean all pieces by hand or by dishwasher, as outlined below.
- Store dry pump and parts in a clean, protected area away from dust and germs.
Cleaning Your Pump Parts by Hand
- Use a dedicated washbasin. Place pump parts in a clean wash basin used only for washing infant feeding equipment. Do not place pump parts directly in the sink.
- Add soap and water. Fill the washbasin with hot soapy water.
- Scrub. Scrub items according to pump kit manufacturer’s guidance. If using a brush, use a clean one that is used only to clean infant feeding items.
- Rinse. Rinse by holding items under running water, or by submerging in fresh water in a separate clean basin.
- Dry. Allow to air dry thoroughly. Place pump parts, washbasin, and bottle brush on a clean drying rack or paper towel in an area protected from dirt and dust. Do not use a dish towel to rub or pat items dry.
- Be sure to rinse the washbasin and bottle brush used to clean your pump parts. Every few uses, thoroughly cleanse the basin and brush with warm soap and water.
Cleaning Your Pump Parts in the Dishwasher
- Wash. Place disassembled, dishwasher safe pump parts in the top rack of the dishwasher. Be sure to place small items into a closed-top basket or mesh laundry bag so they don’t end up in the dishwasher filter. If possible, run the dishwasher using hot water and a heated drying cycle or sanitizing setting.
- Remove from dishwasher. Wash your hands with soap and water before removing and storing cleaned items. If items are not completely dry, follow the drying directions above. Do not use a dish towel to rub or pat items dry because doing so may transfer germs to the items.
- For extra protection, breast pump parts can be sanitized with the use of a steam bag or by boiling, but check your pump manufacturer’s instructions to confirm.
Cleaning Your Pump Supplies at Work or On-the-Go
Not all moms are lucky enough to have a lactation room or access to space to pump and clean pump parts at work. But working moms have a way of making things work, so to speak, when it comes to maintaining their pumping schedule despite less than ideal circumstances. There are a few options and factors to take into consideration:
- Bring a set of pump parts for each pumping session and wash them all together at the end of the day. This obviously involves buying multiple sets of all the required parts and pieces.
- Another option is to bring along your own washbasin, cleaning brushes, soap, etc. to avoid contamination. Once parts are clean, dump and rinse the washbasin and use it as a space to let your parts air dry.
- Take advantage of the microwave (if you have access to one) to sanitize parts with a steam bag when possible.
- Quick clean wipes are handy, but since they can't reach all surface areas, washing each part with soap and water is still the method recommended by CDC.